Steps to Connect WooCommerce
Step 1: Open WooCommerce integration in LazyChat
- Log in to LazyChat.
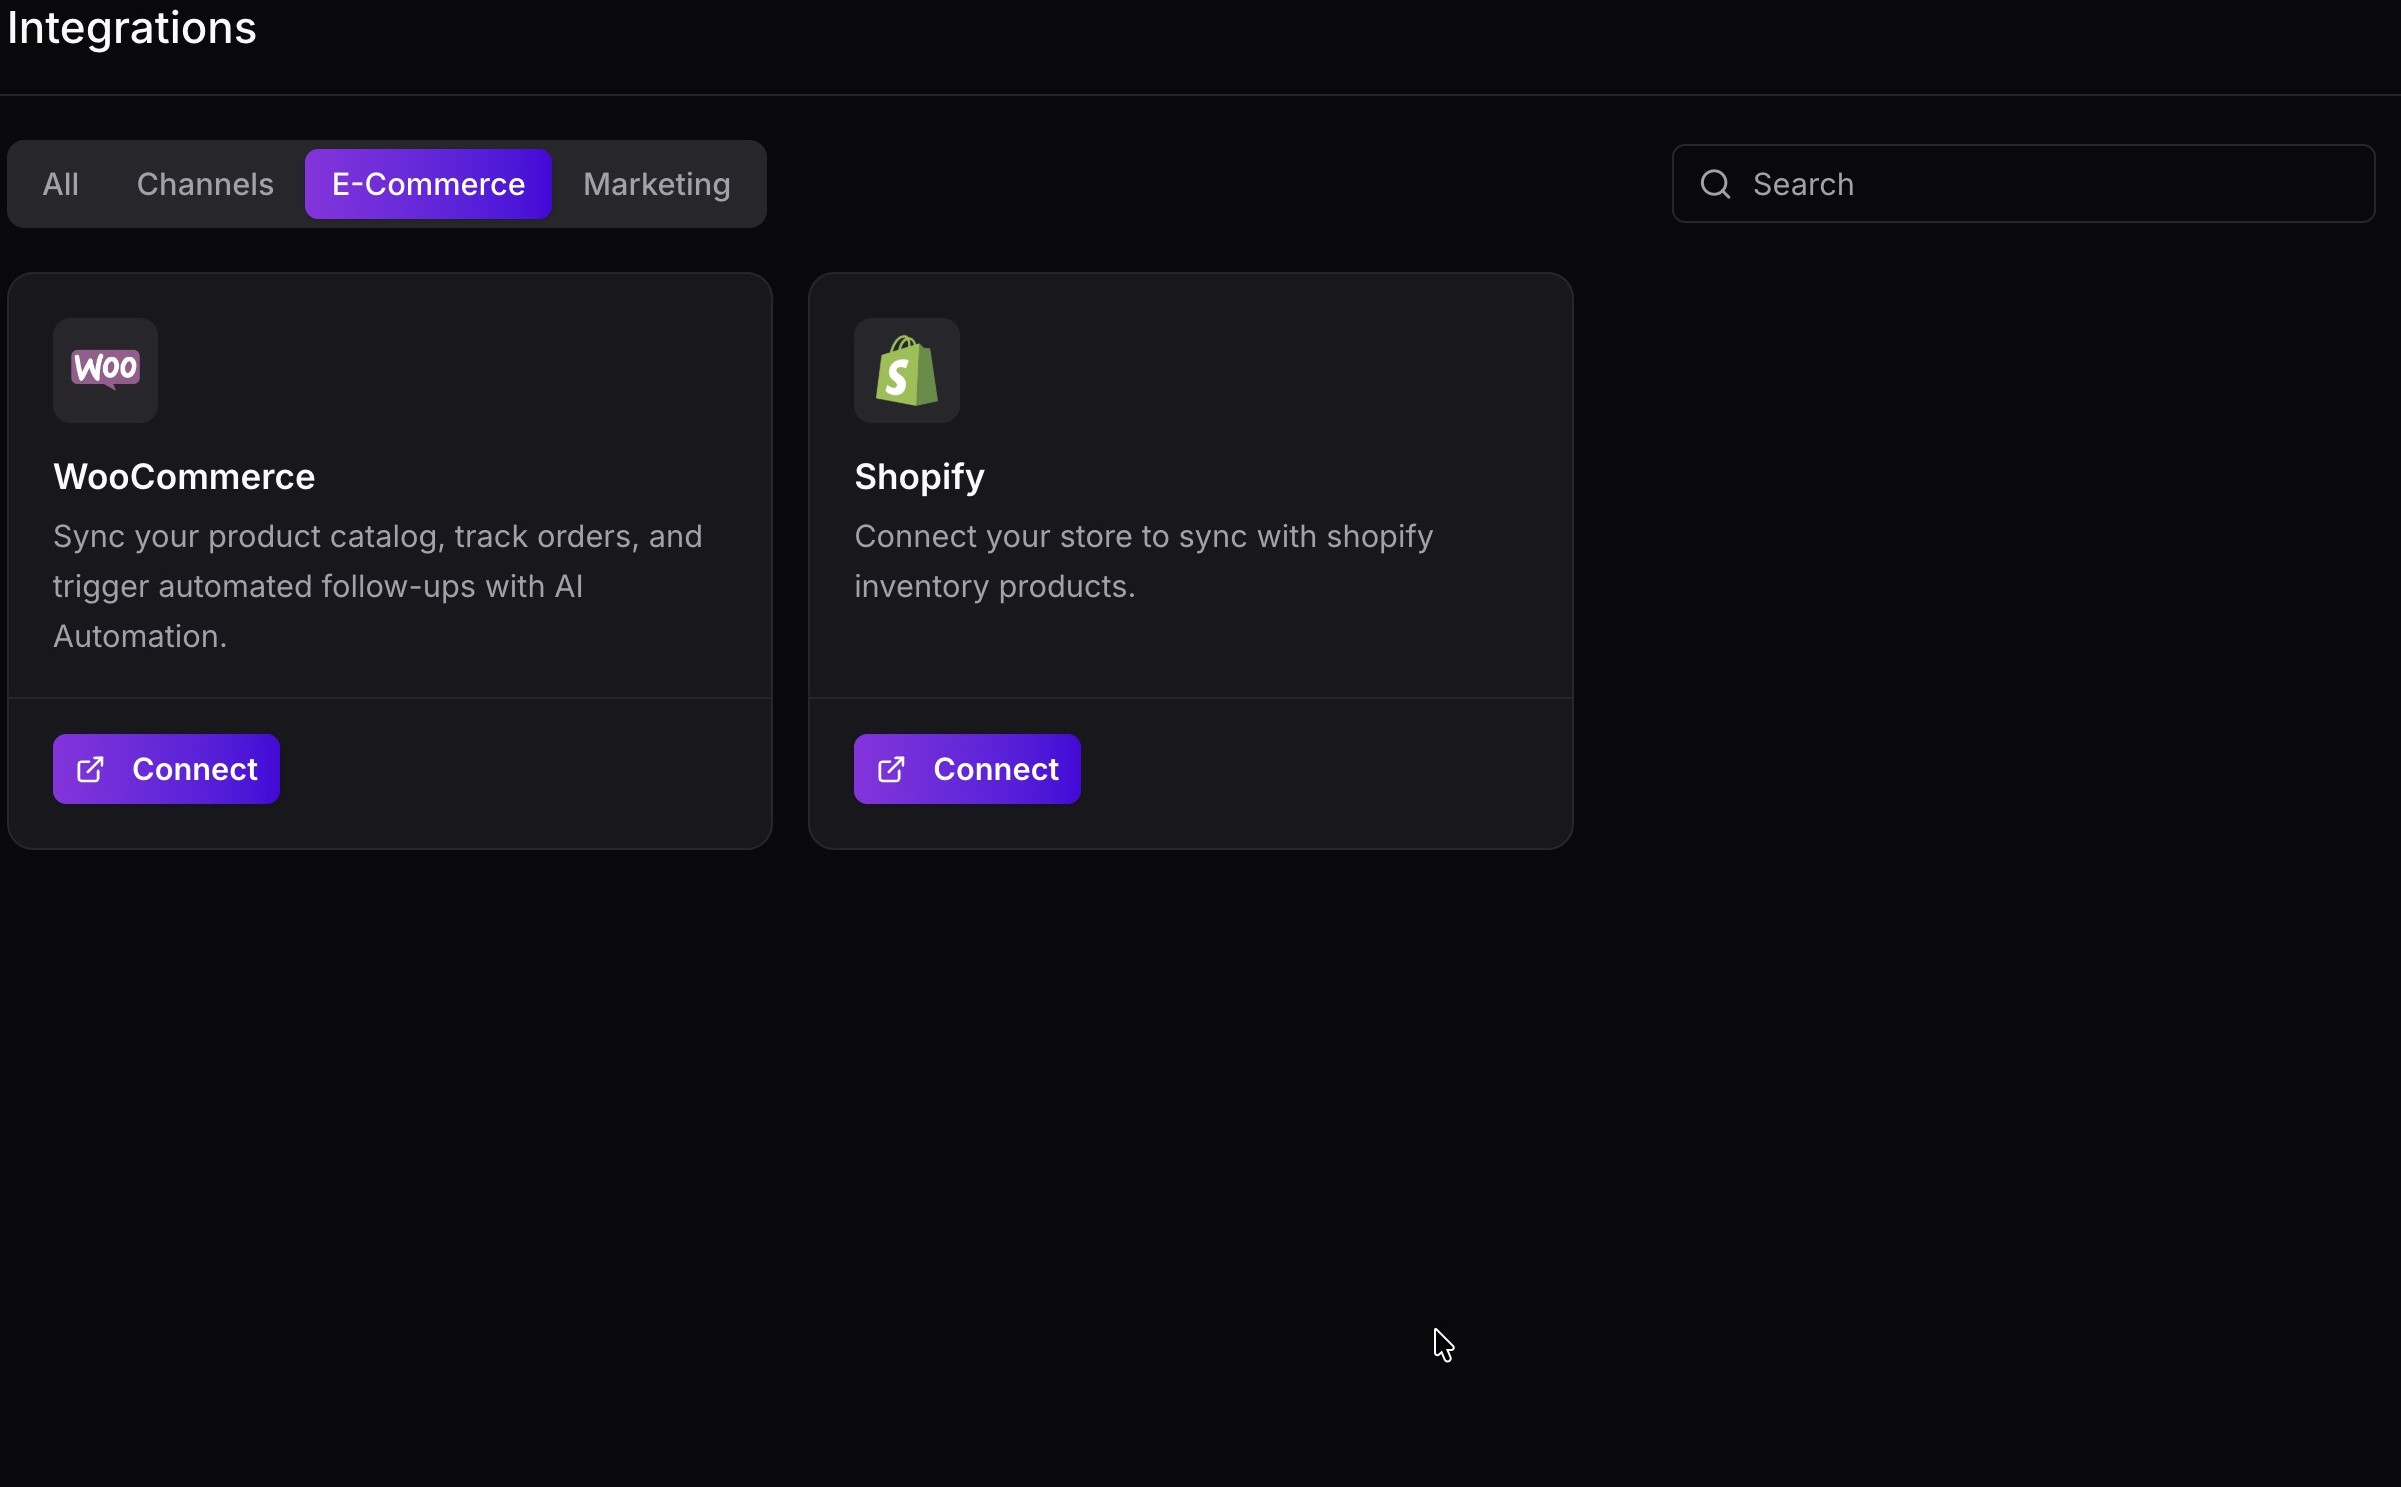
- Go to Integrations.
- Open the E-Commerce tab.
- Click Connect on the WooCommerce card.
Step 2: Open the LazyChat plugin page
 You will be taken to the LazyChat plugin page on WordPress.org.
Step 3: Search and install the plugin in WordPress
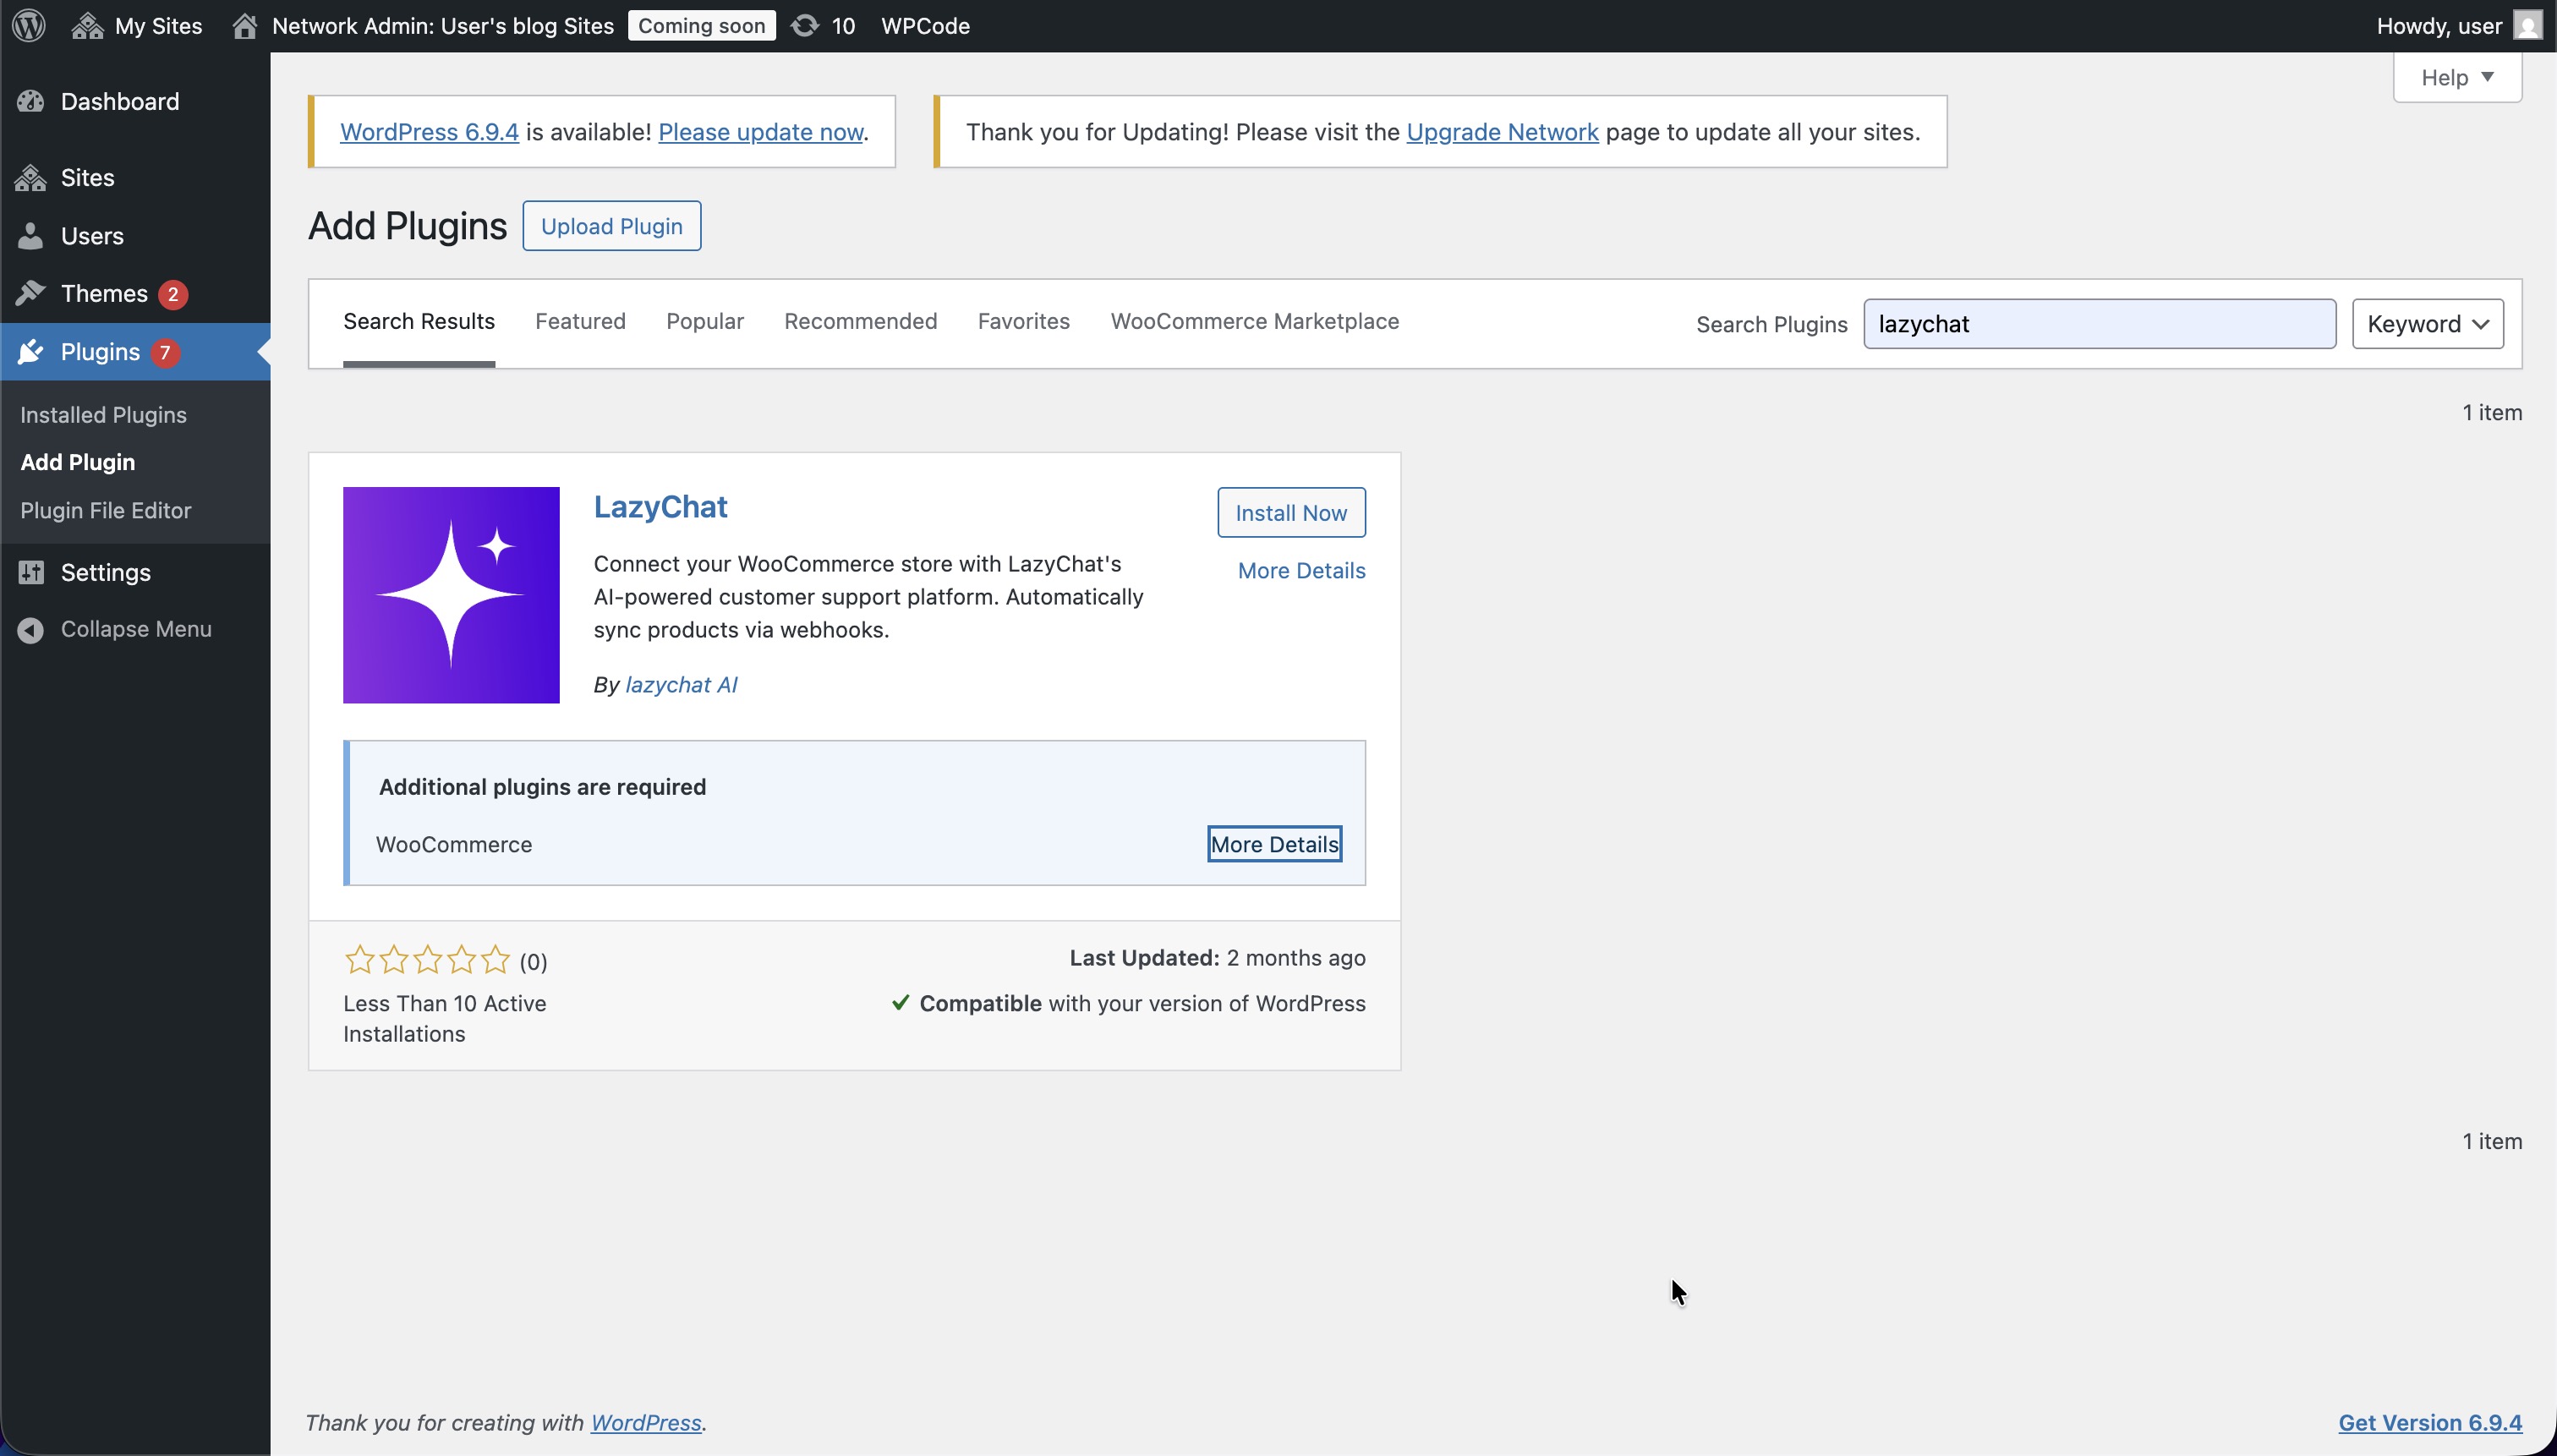
- In WordPress Admin, go to Plugins → Add Plugin.
- Search for lazychat.
- Click Install Now on the LazyChat plugin.
Important: The plugin requires WooCommerce.
Step 4: Activate the plugin
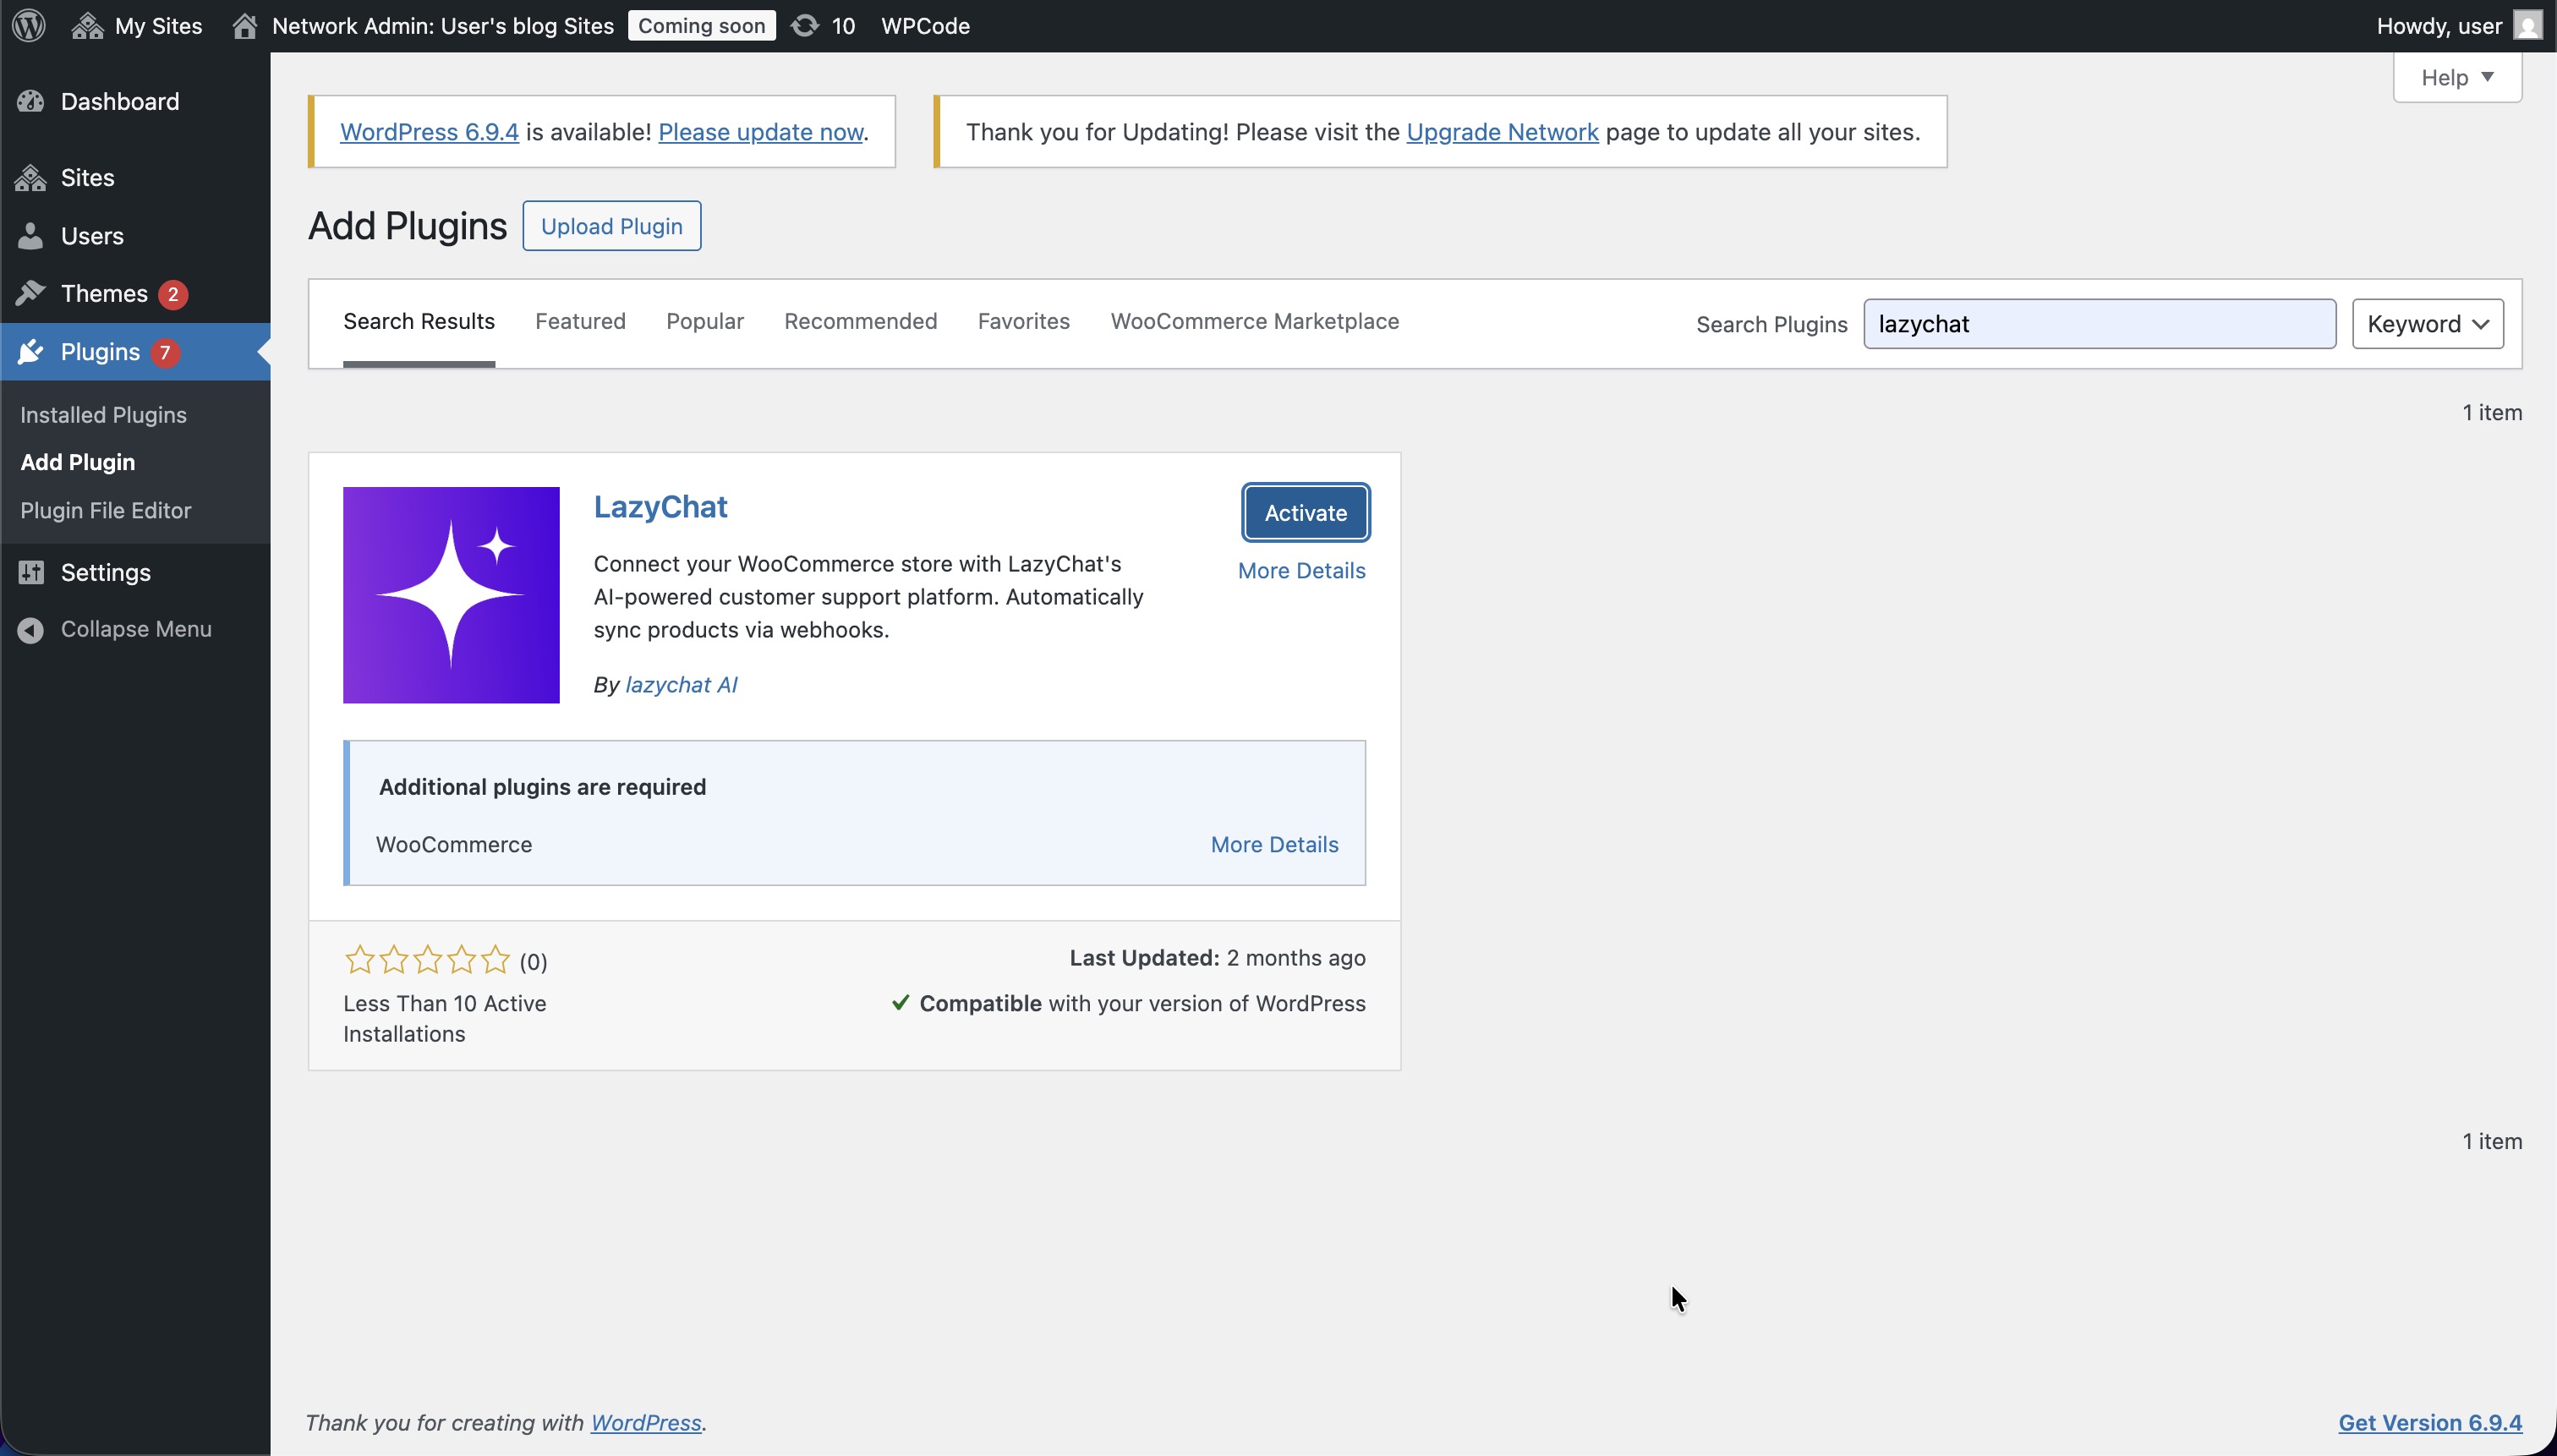 After installation, click Activate.
Step 5: Open LazyChat settings
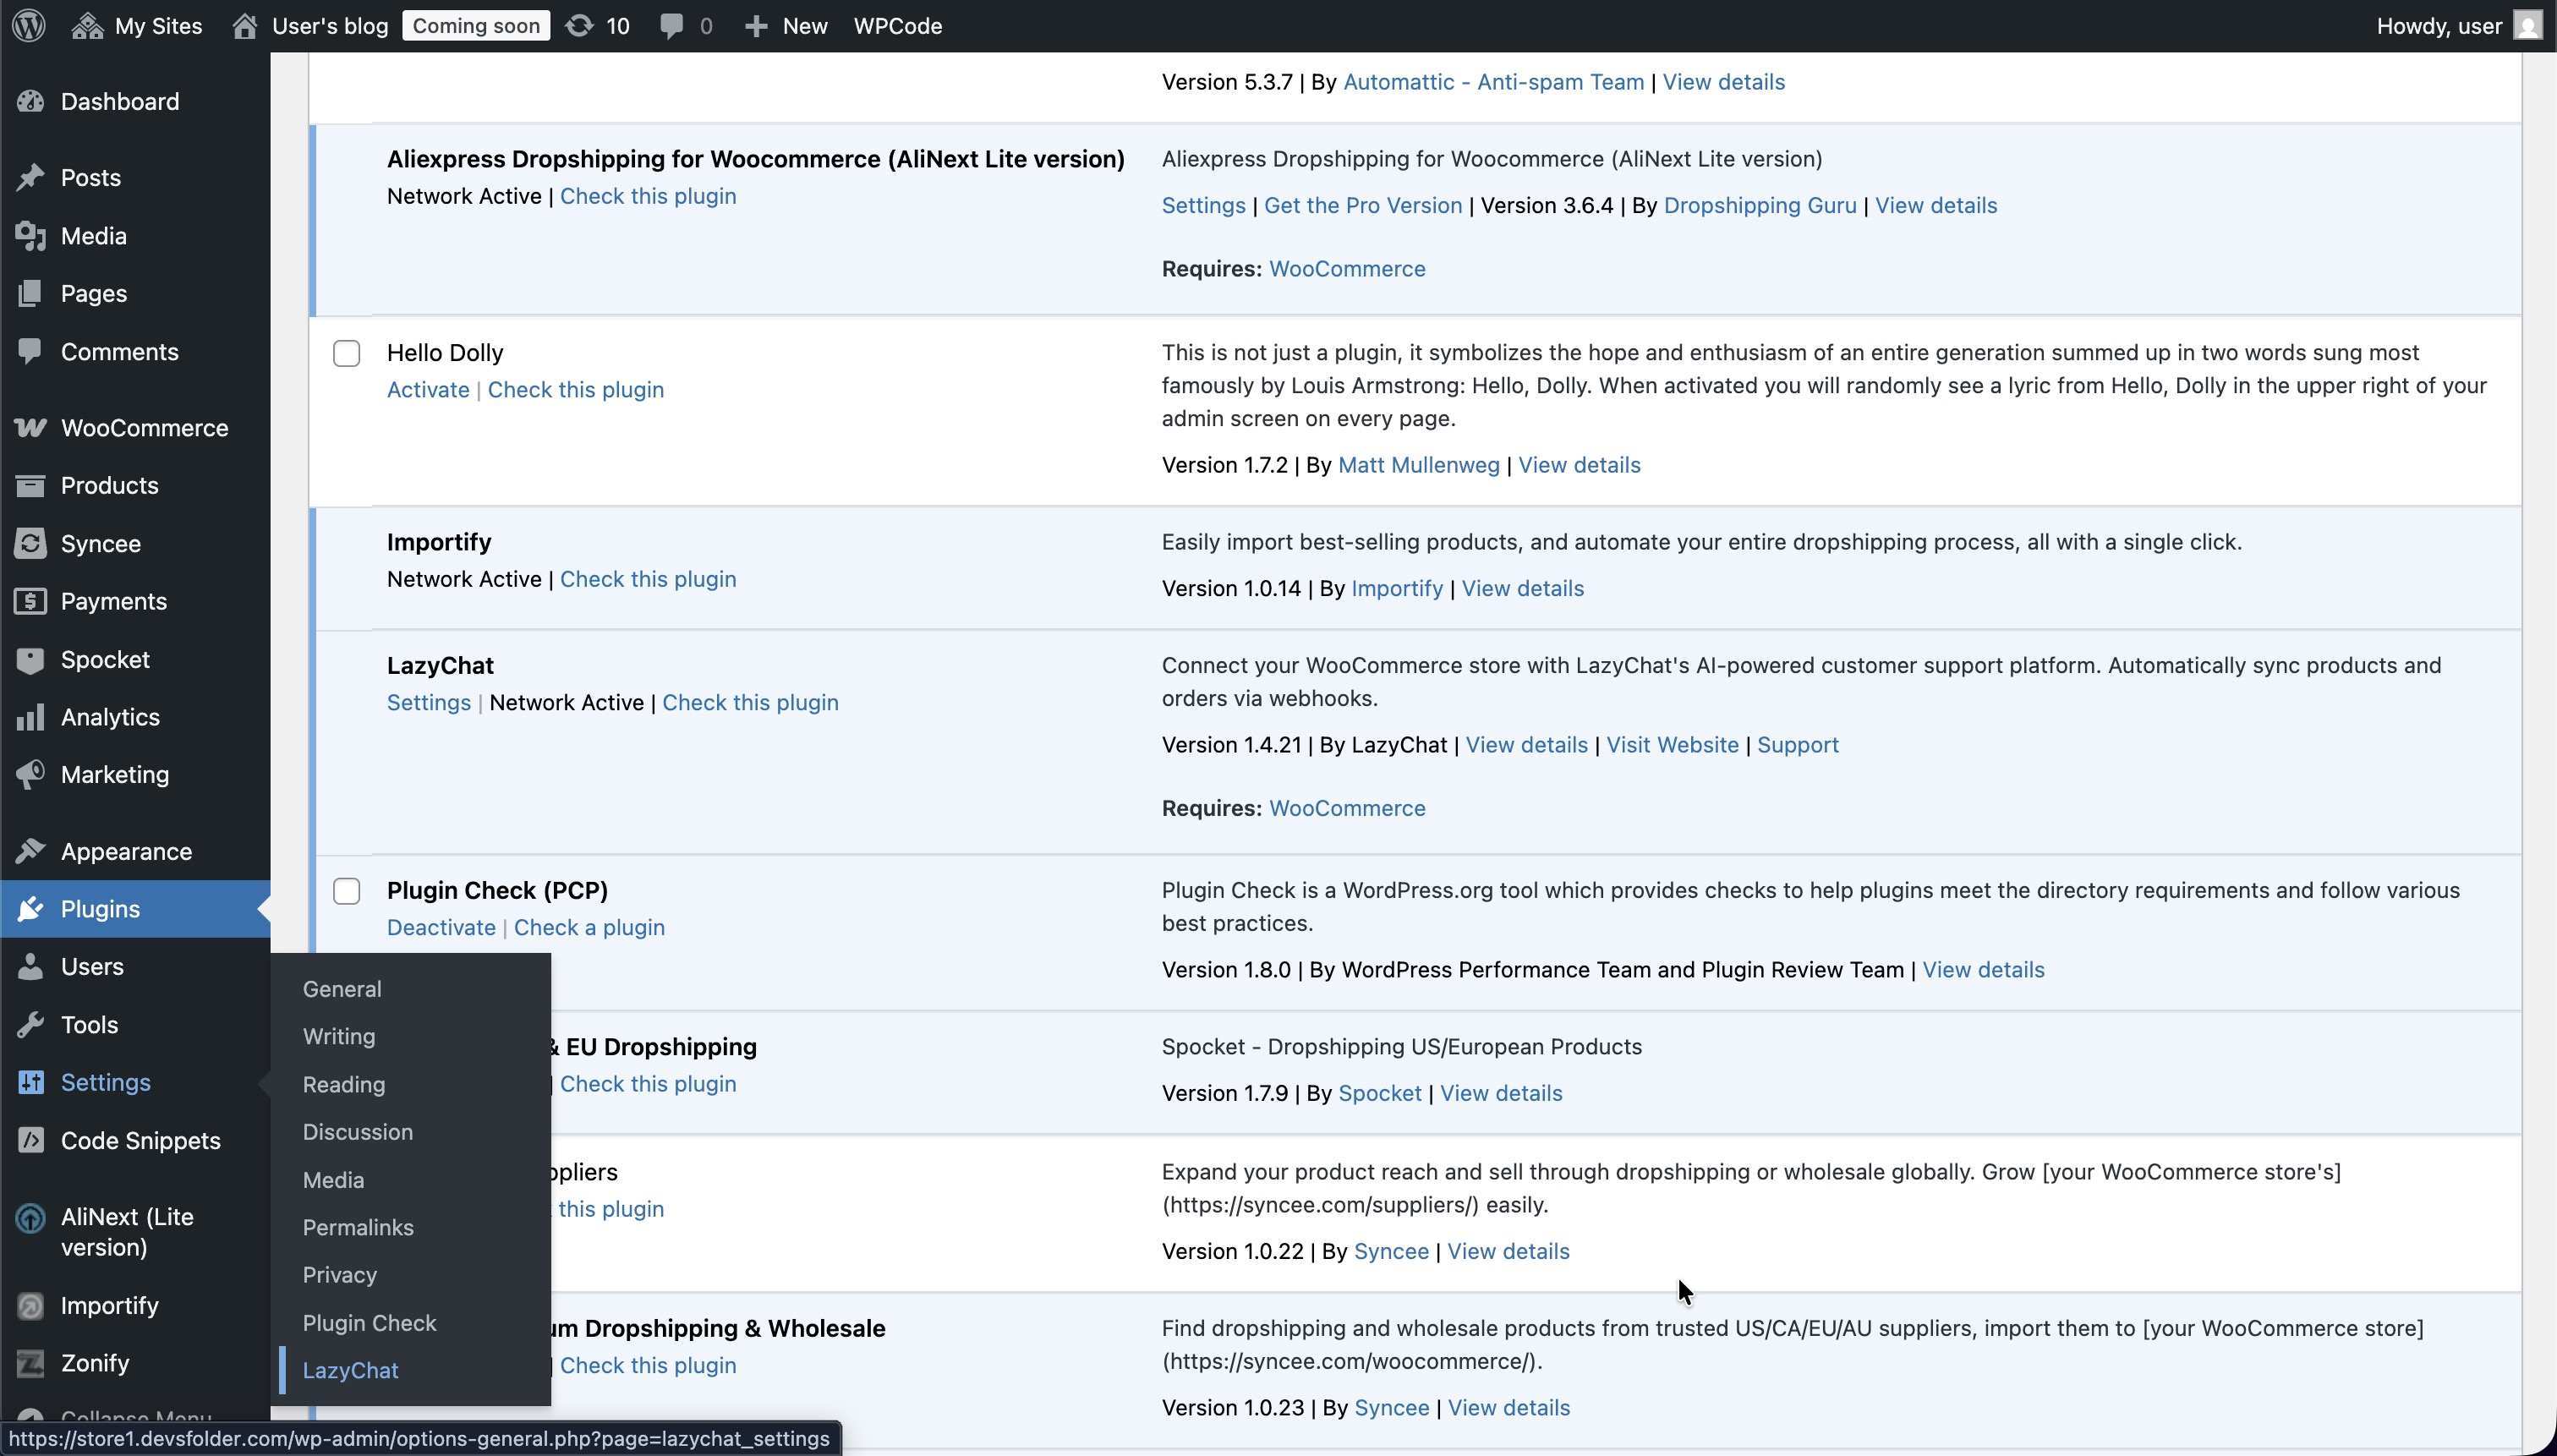 Go to Settings → LazyChat in WordPress Admin.
Step 6: Log in to LazyChat
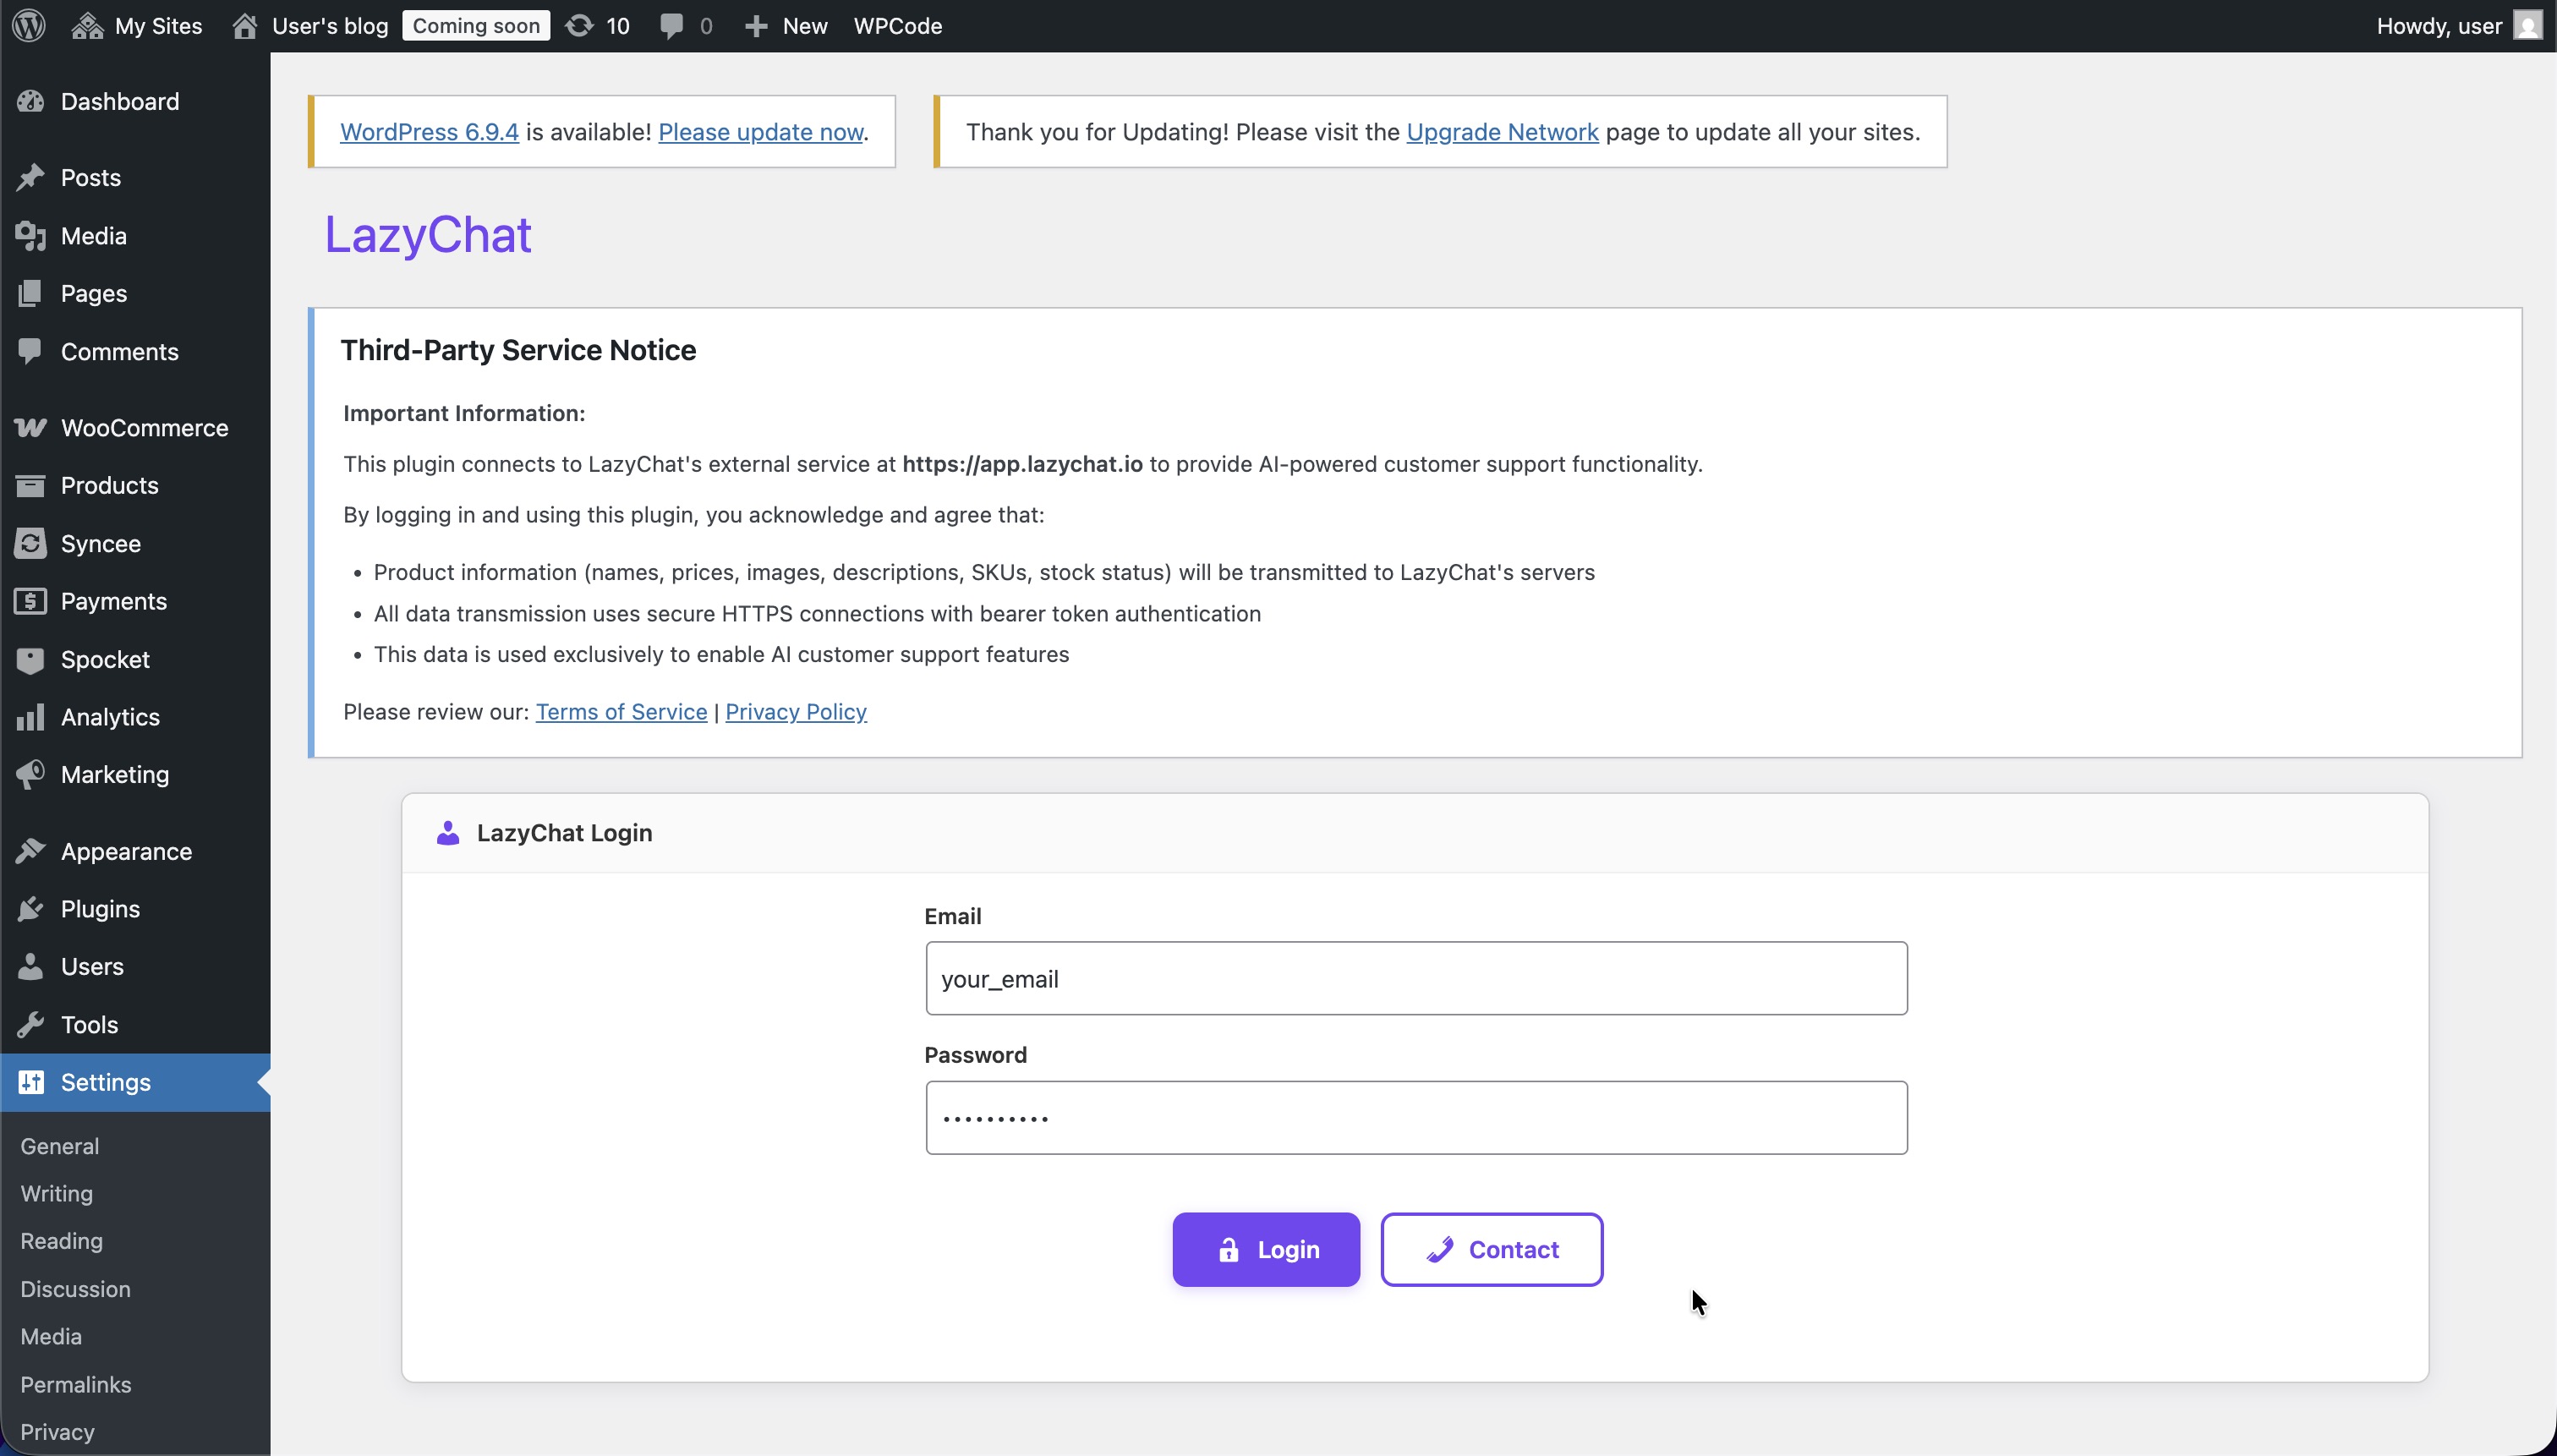 On the LazyChat Login page:
- Enter your LazyChat Email
- Enter your LazyChat Password
- Click Login
Step 7: Select your shop
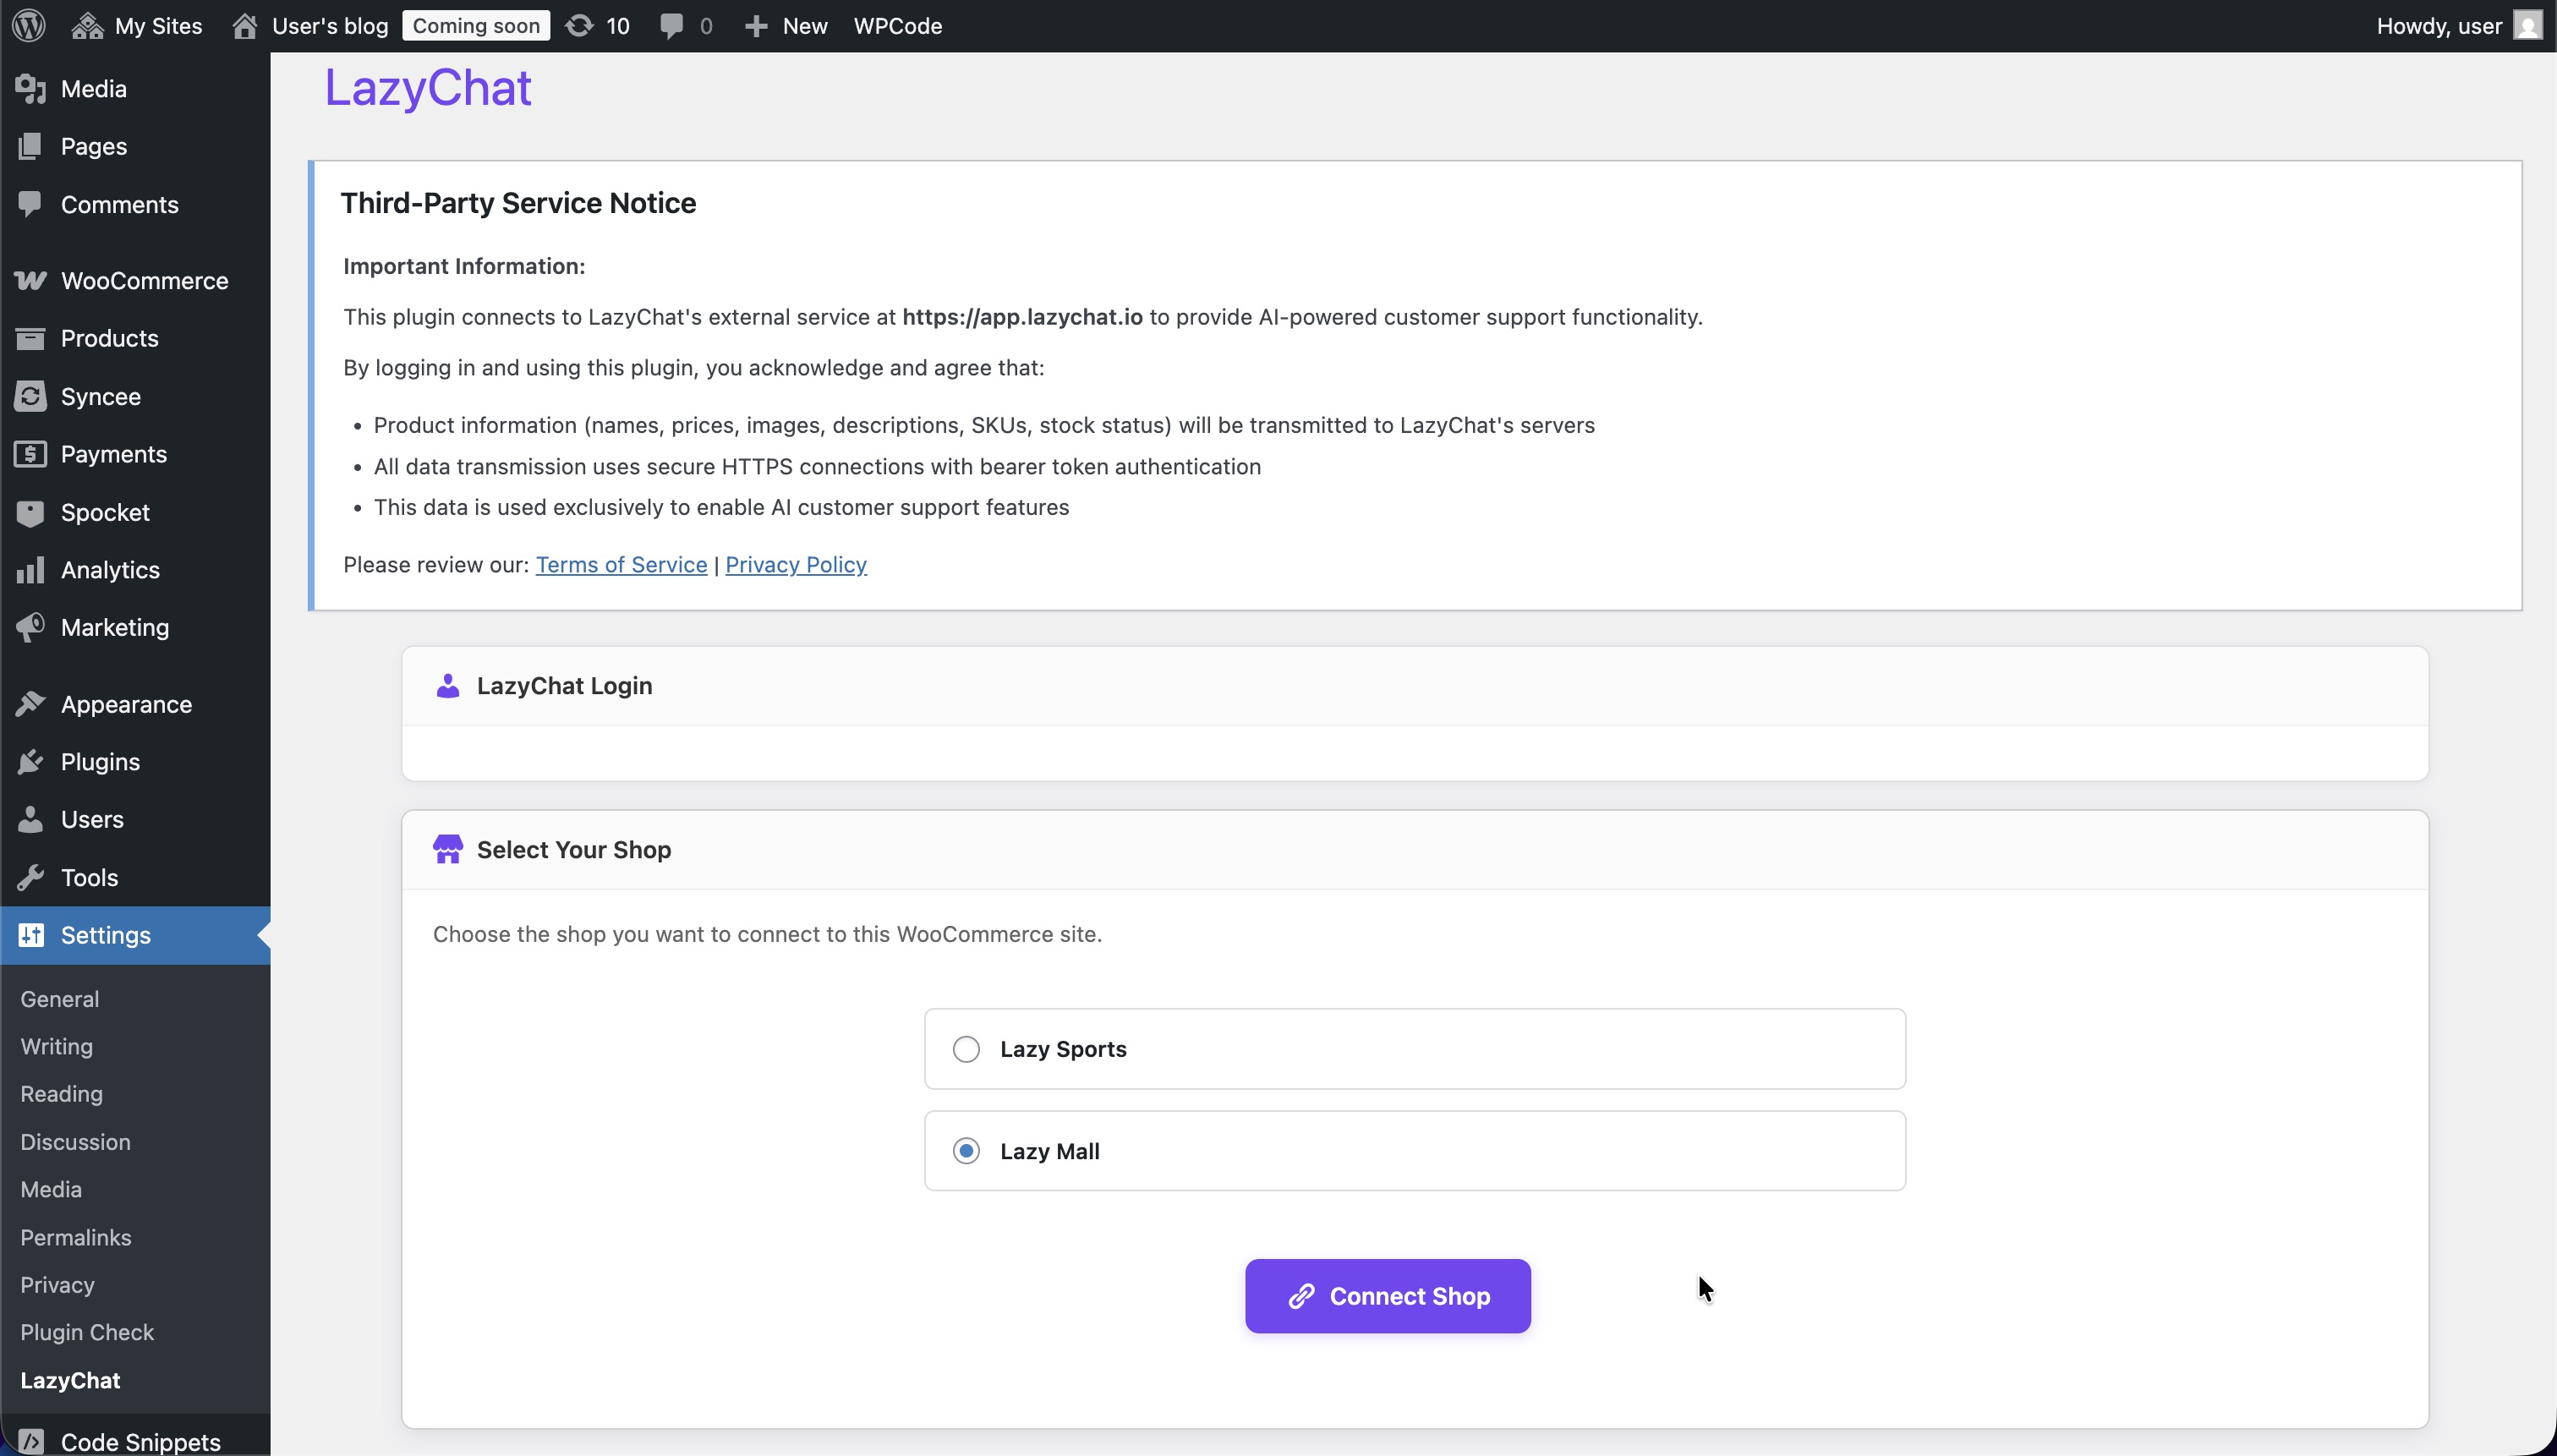
- On the Select Your Shop section, choose the shop you want to connect
- Click Connect Shop
Step 8: Verify connection and sync
 After connection, confirm these are shown on the settings page:
- Connected Shop
- Enable Product Webhooks
- Plugin Status: Active
- Sync Products
- Product sync has been completed
This confirms WooCommerce is connected successfully.